Skip to content

Custom challenge coins.

Create a commemorative coin for a team, milestone, or collection. Build the design around your emblem, then choose how the faces, metal finish, and edge work together.
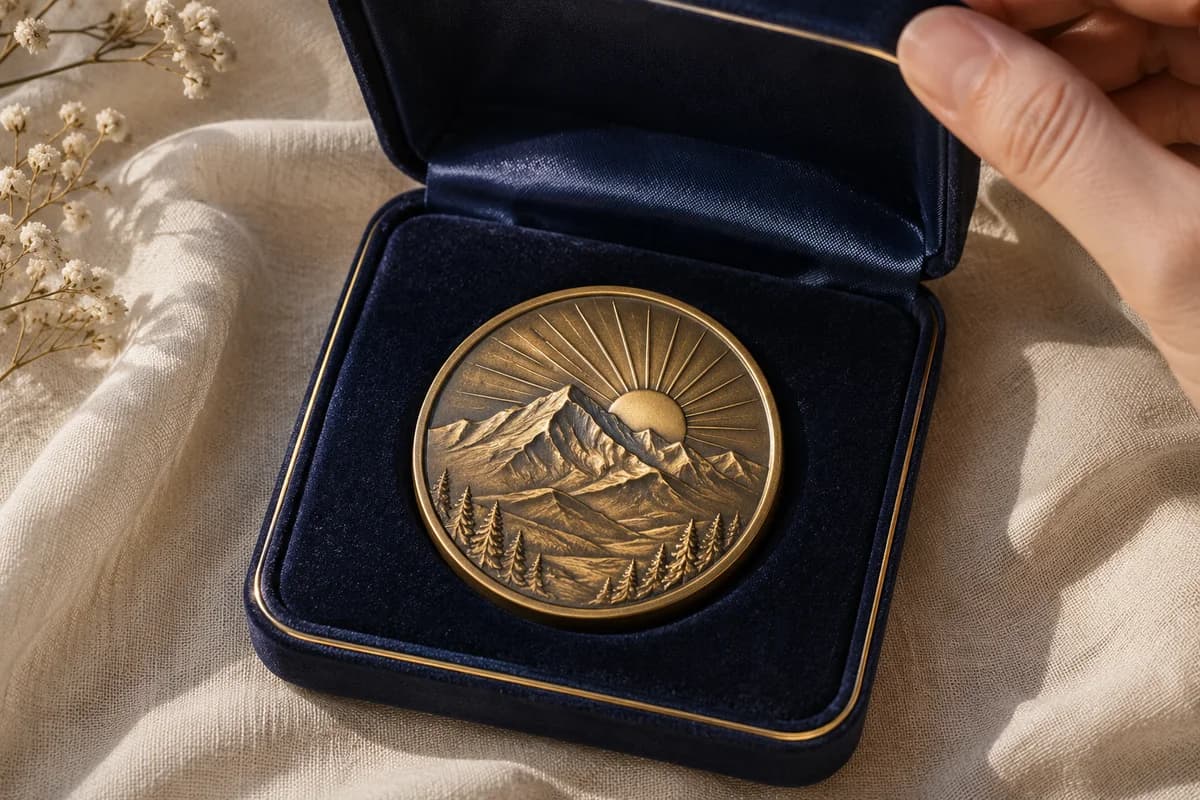
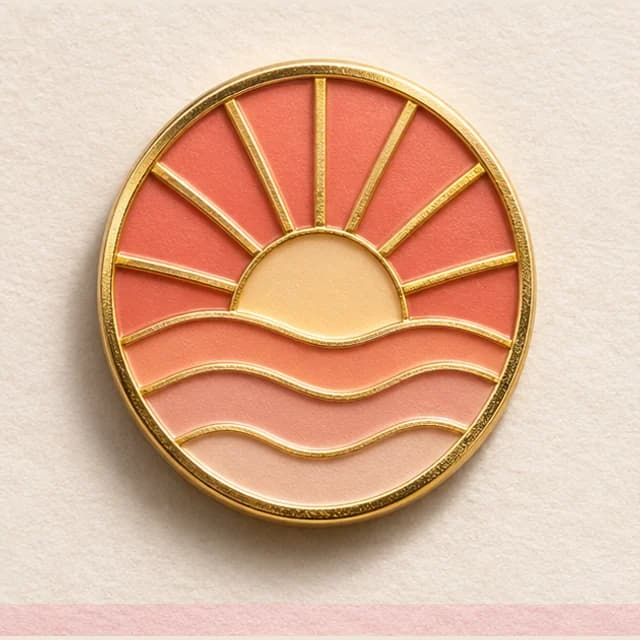
Gold-tone commemorative coin with a raised sunrise motif

Benefits of custom coins

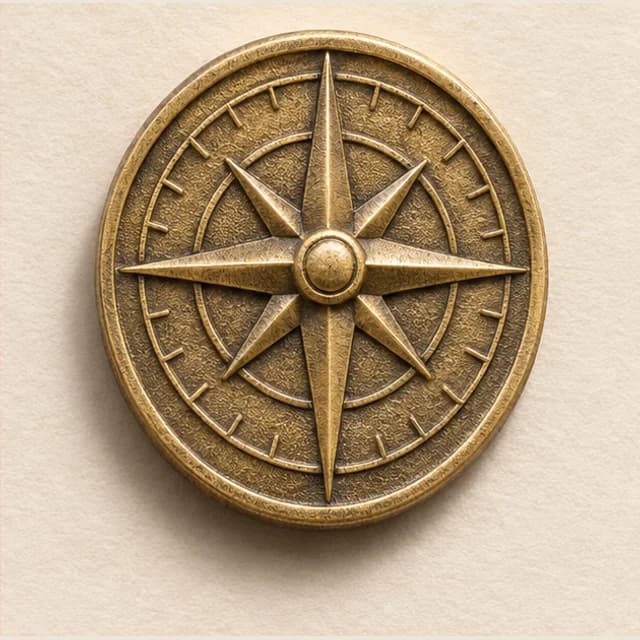
Antique brass commemorative coin in an open navy presentation box
Commemorative coin presentation concept
Recognize a milestone

Give team members, volunteers, or event participants a keepsake tied to a specific achievement. Use a date, emblem, or short inscription to record what the coin commemorates.

Make the design tactile

Raised metal, recessed backgrounds, and patterned edges give the artwork a physical texture. Use relief to highlight the central emblem and choose a finish that helps it stand out.

Create a coordinated set

Keep a shared shape and finish across a series, then change the reverse for each year, chapter, or achievement. The front ties the collection together while each coin marks its own occasion.

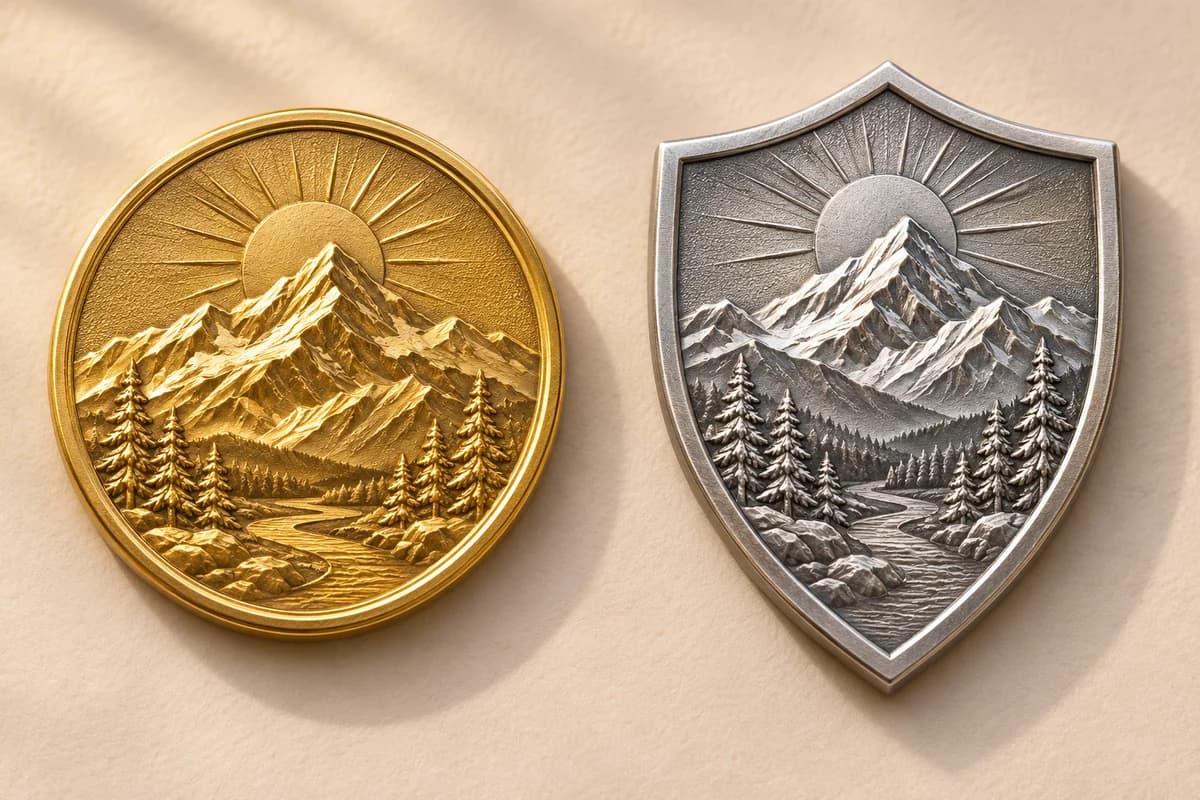
Round gold and shield-shaped silver coin concepts
Round and custom silhouette concepts

Shape and size

Rounded
A circular outline leaves room for a central emblem and lettering around the perimeter.
Custom Shape
Follow the silhouette of a shield, mascot, or landmark. Check narrow points and leave clearance around the edge.
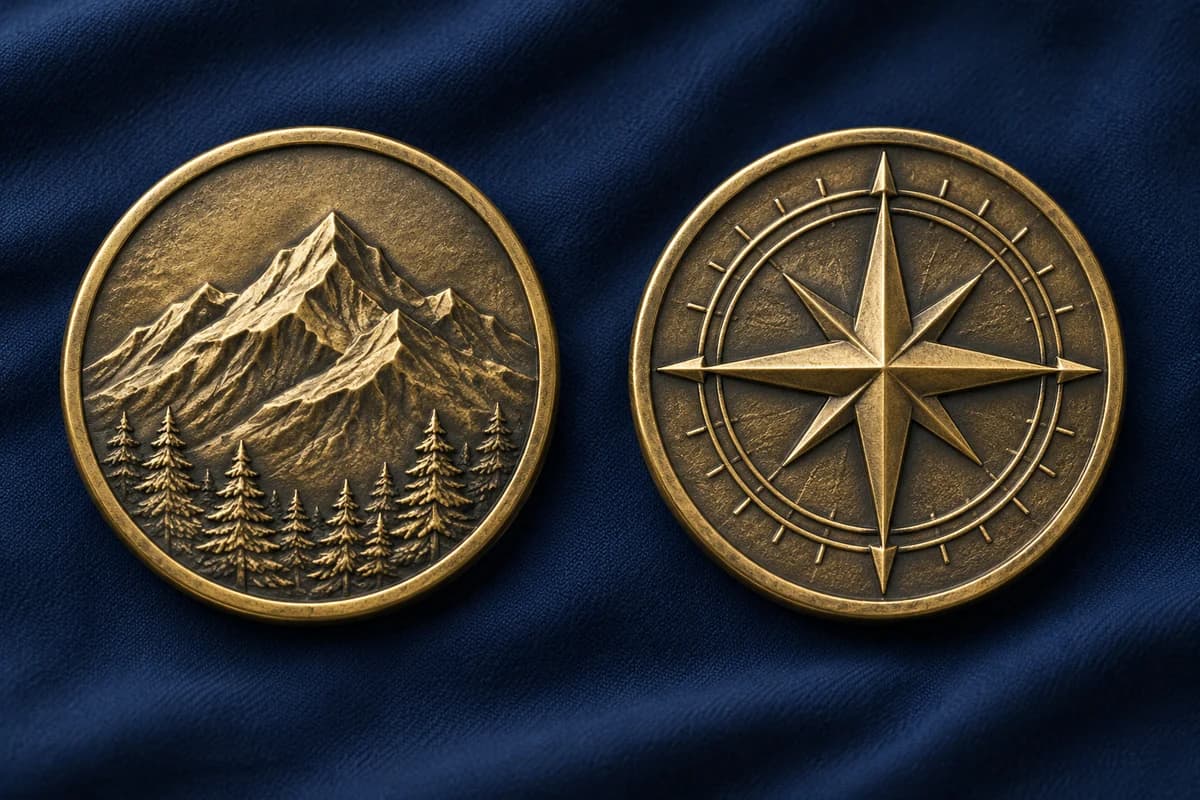
Matching brass coin faces showing a mountain crest and a compass rose
Front and reverse of a double-sided concept

One or two designed faces

Single Sided
Put the artwork on one face. Ask how the reverse will be finished.
Double Sided
Use the reverse for a date, motto, or second emblem. Mark the top of each face so both designs have the intended orientation.

Plating and finishes

Gold
A warm yellow metal tone for awards and anniversary coins. Pair it with navy or deep green enamel to make the exposed metal stand out.
Silver
A cool, neutral tone that pairs with most enamel colors. Use it for crisp lettering or a clean border around a colorful emblem.
Copper
A reddish metal tone that works with cream, brown, and muted blue. Check how the warm metal reads beside any orange or red in your design.
Black
A dark finish that frames bright enamel. Check small unfilled lettering in the proof so it stays legible against the surrounding metal.
Dual-Plating
Use two metal tones to separate parts of the design. Mark which tone belongs on the rim, emblem, or lettering when you send the artwork.
Antique Gold
Warm gold with darker recesses to bring out raised lettering and crests. Consider it for a commemorative design with little or no enamel.
Antique Silver
Cool silver with darker recesses that help define fine relief. It suits monochrome artwork with raised lettering or layered detail.
Antique Copper
Reddish copper with darker recesses for a subdued, weathered look. Use raised highlights to keep the main emblem distinct.
Antique Brass
Muted brass with darker recesses. It works well for heritage emblems and relief designs that rely on texture and contrast.

Coin edges

Standard Flat
A plain, uninterrupted edge that keeps attention on the faces. Consider it when the rim artwork is already detailed.
Rope
A twisted pattern that adds a decorative border. Pair it with a simple perimeter so it has room to read.
Cross-cut
Intersecting cuts create a repeating texture. Ask to review the pattern at the intended coin size.
Diamond Cut
Angled facets catch the light as the coin turns. Consider this edge when you want a reflective accent around the face.
Reeded
Closely spaced grooves give the coin a familiar ridged feel. Consider reeding when the edge should be noticeable by touch.
Oblique
Diagonal cuts give the perimeter a directional pattern. Check how the angle complements any lines or lettering near the rim.
Spur
Repeating notches create a pronounced edge pattern. Confirm how the notches will look around tight corners on a custom shape.

Prepare your coin artwork

Check the lettering at actual size

Print the design at the proposed dimensions. Give dates, names, and lettering around the rim room to read. Keep essential details clear of the edge treatment.

Mark the metal and color areas

Provide a vector file or a clear image for each face. Indicate which elements should be raised, recessed, colored, or left as exposed metal. Include any reference colors and mark the top of the reverse.
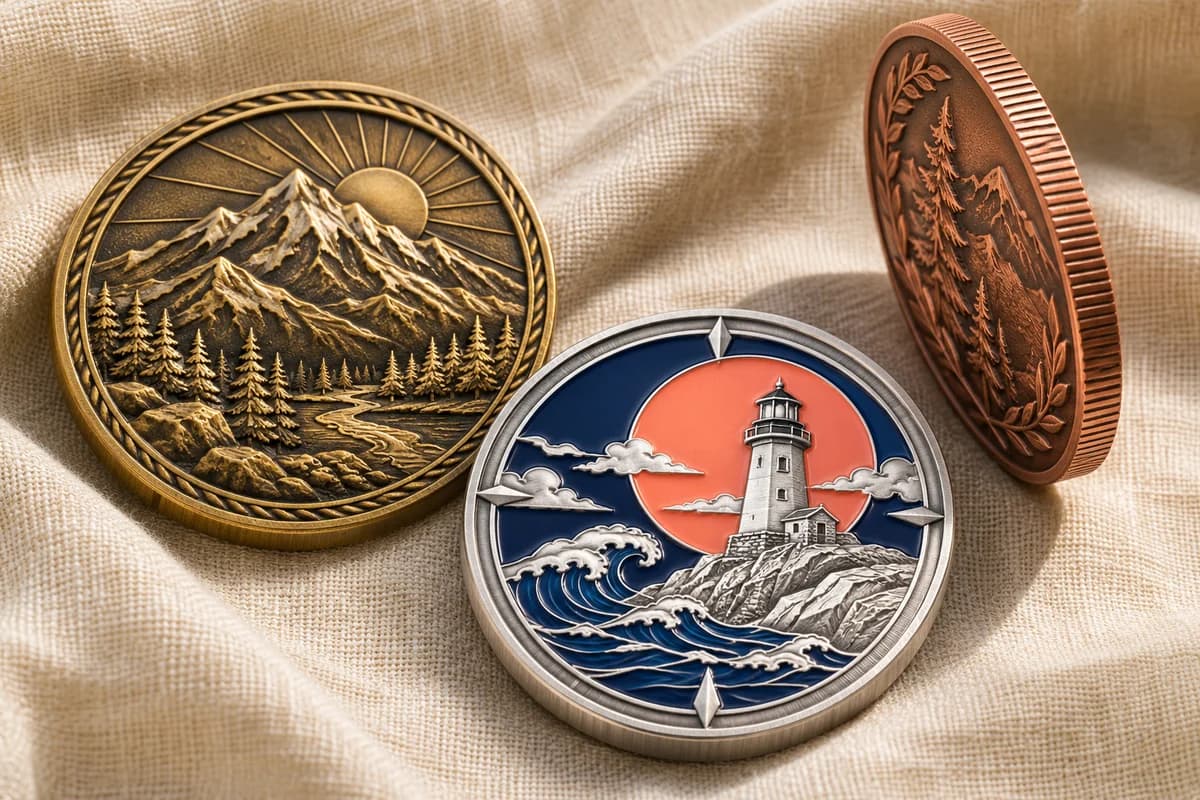
Commemorative coin concepts showing raised metal, colored enamel, and a textured edge
Coin concepts showing relief, enamel, and edge detail

Custom coin design portfolio

How to order custom coins

Select a step to follow the process from your first idea through production.

Why choose PatchesHub?

No minimum order

Request a single coin for a personal project or specify the quantity you need for a team or merch run. Include your expected quantity so we can quote the project accurately.

Help with the design

Start with a logo, sketch, or description. Tell us how the coin will be used and we’ll help review the size, artwork, and attachment.

Proof revisions

Review the shape, lettering, and artwork before production. If a detail needs to change, request a revision before you approve the proof.

Before you order

Custom coins FAQ

Can the front and back have different artwork?

Choose Double Sided in the quote form and provide both designs. Mark the top of each face to show the intended orientation.

Which coin style works for a gradient?

Consider offset printing when a design relies on smooth shading. Send the original artwork so the detail can be reviewed at the finished size.

What affects the price of a custom coin?

Quantity, dimensions, shape, design area, plating, and edge treatment help determine the quote. Include any deadline and packaging requirements.

Can I review the design before production?

Yes. Check the artwork, dimensions, finish, and edge in the proof. Request any changes before approval.